
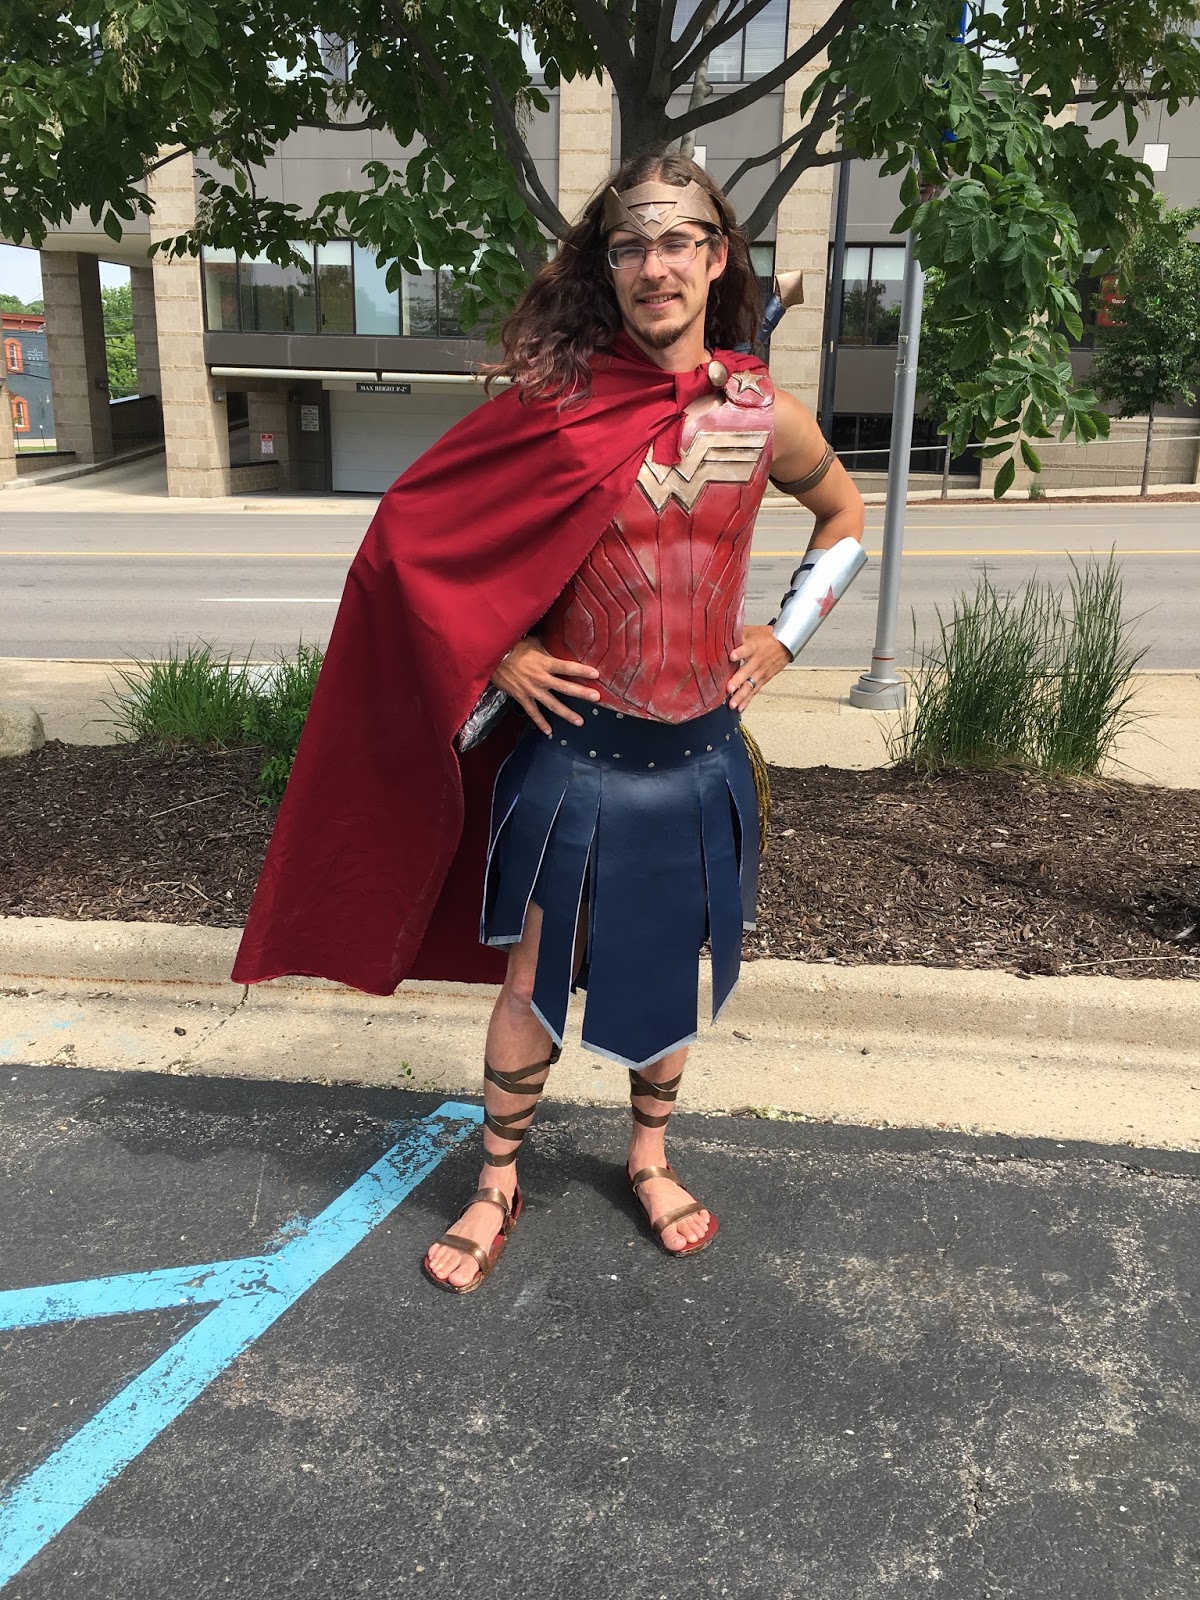
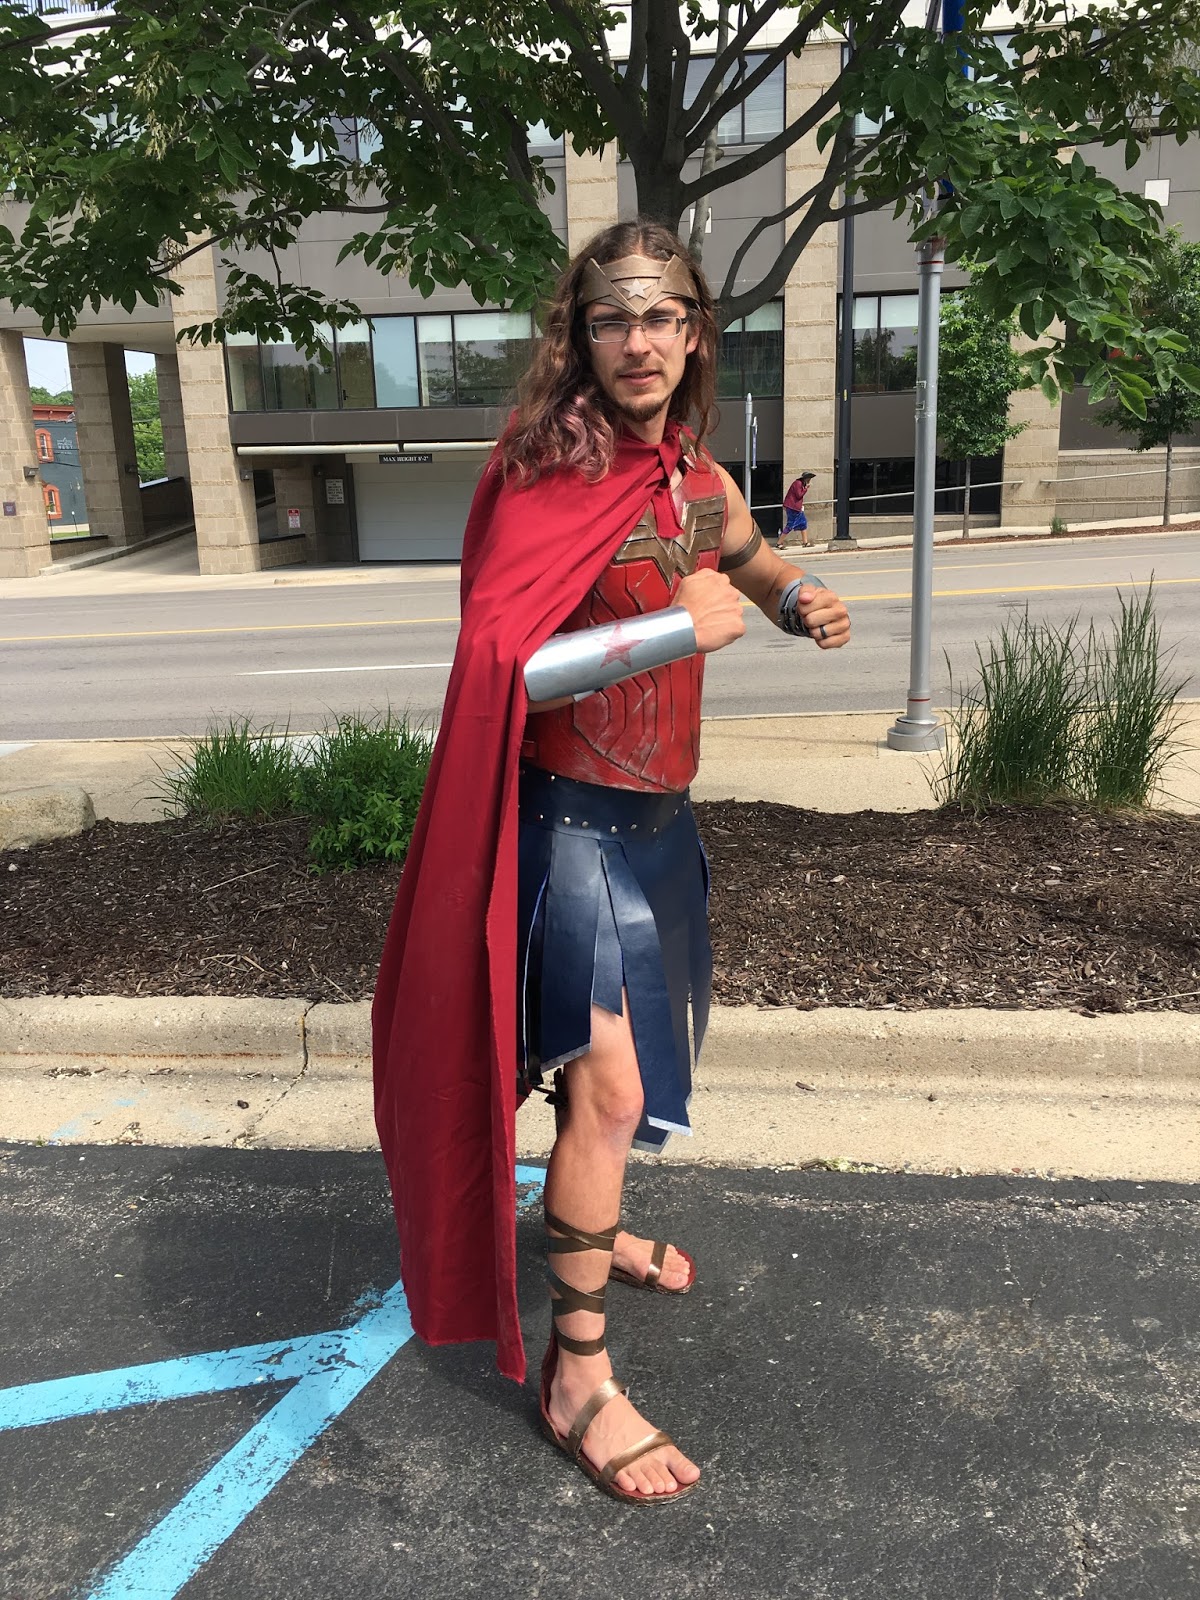
Well as many of you know for free comic book day I cosplayed as Wonder Woman/warrior/man. Part of the choice to be her was to then get to use the costume again 3 weeks later when the (SUPER AWESOME) Wonder Woman movie came out! You know, dress up, get food and a movie...
Well being that I finished it the first time in 2 weeks, I had time to take apart what I didn't like, fix stuff up and add things that didn't get made the first time.
 |
| I circled lightly what I added or changed... |
I wanted to add:
Shoes! (didn't actually get to these the first time and just threw together shin guards that looked terrible...
A Sword!!!
And and arm band.
Things I wanted to fix:
I had a lot of glue goobers that I wanted to fix up.
The back had no detail and I wanted some.
The skirt had a hole, exposing my butt...
So I started making shoes...
 I kinda thought it would be fun to make the whole thing... it was but I can definitely improve on what I did...
So as you can see I took foam and layered two big pieces, putting straps in between and attaching a back heal piece which ran up the back of my leg.
In hindsight when you are pinching two flat surfaces together, don't stand on them to get the glue to bond. That makes the edges pucker up! Next time I shall clamp the edges down so they don't need filling after I do that! If you look at the first picture of the shoes, you can see two little loops on each shoe, yeah those didn't work out like I originally thought so an improvement will be to make that strap go all around. Also this time around I wanted to try what all the cosplayers say they use, 'plasti-dip' but I got the cheap off brand kind and it doesn't really work well so don't do that!


The sword.

For this entire project I'm trying something new, but as I did each section or thing, I would try a new technique that I watched or read about. Here I am trying out the spray-foam technique. Which I honestly don't recommend. Maybe some day I'll try it again, but I think I can do a way better job if I don't do this... but it is what it was. So let me explain it!
First I took a piece of cardboard and cut it to the length and shape I wanted, then I used spray foam to spray both sides of the cardboard (you have to wait till one side is mostly dry to do the other).
then you take what you see in the above picture, and cut it until it's the shape you want.
Now this leave lots of air pockets and odd shapes and at this point you're supposed to add tape and paper-mache and plaster... buuuuttt I didn't take into account how much bigger it would be when I made the form, so I didn't do that...


On to the back which most will never see. (except here!!!)

So I tore off the back of my armor so I could cut it to fit better and add detail to the back! One of the things I noticed was that, because I didn't use a pattern (wait what??? Crazy guy) it was a bit big and didn't sit well on the shoulders. Also I couldn't sit well... So taking off the back was perfect for more than just adding detail but changing the shape of both pieces and how they re-attached.
So the design was a new technique I wanted to try, and one I look forward to trying more of in the future, because it worked amazingly! You cut (lightly) into the foam (and I'm told this only works on EVA foam) then take a heat gun (I bought one to re-work this costume, and it's a must have!!!! If you want to work with foam for costumes then go get a cheap one, I got it for $9 at harbor freight and it's the same one that Evil Ted uses on his foam making channel and he's a professional!). Heating the foam where you cut will have two effects. First, the foam will be heat treated, which I came to understand meant you don't need mod-podge, plasti-dip or any other sealer because it's sealing the pores and top layer of foam for you. Second it separates from any cuts in a nice smooth way (well smooth if you cut well). So boom cut your design and heat and you have a perfect design, no glue!!!!


It worked wonders! Ha! Wonders...okay yeah, moving on. If you look at the double 'WW' symbol you can see it looks pretty good and that was all just heat treating!! One of the nicest new tricks I learned the 2nd time around!
So I went to fix up some of the goobers around the front symbol and I accidently dremeled out a chunk of the 'WW' so I needed to add another layer, which I think looks amazing but was really hard, until I decided to lay a piece of thinner foam over the top, cut it and heat it until it came apart.
FYI thinner foam bends when heat treated and it IS better to use a sealer of some kind instead of heat treating! but it worked out okay...

Also this is where I REALLY learned that heat treating a knife cut will make EVERY cut you make show up. For a split second I was super worried, but then I just made it into a 'wear scrape' which when you add those to a costume and paint it accordingly really look great. It gives it a 'used' look. I'm pretty happy with it being up-raised more and everything.
Also check out the stars. I added those, because originally I wanted to add stars to the body, (like the newer comic book Wonder woman has) but I forgot (and it was good that I forgot, because it saved me sooooo much time) but I wanted to add stars to it anyway, so they went up top... which means you never really see them with the cape... but if I ever take off the cape (ha!) you would have that nice feature and the back too!
I fixed that skirt, but sadly didn't have time to add any paint or detail (which it needs)
Also I ran into a new problem. The fabric stretched and the clasp that I used needs pressure to stay, so towards the end of the day anytime I sat down it would undo itself! I only mention this because it's worth saying, 'If you are going to make a costume use clasps that will stay together no matter what!!!' You're costume is going to 'breath' with use and needs to not have this problem! I learned it the hard way, now you don't have to!
Now here are more pics!


Which the movie was amazing! If I give myself time, I'll review it later, but suffice it to say it was great, go see it!
That's all, for the 2nd time, I'll probably work on it some more, but probably wont need to blog about it since most of the changes will be minor vs the major add-on's this time (though I do want to make a shield so maybe I'll jabber on about that when it comes time)!
Thanks for reading and as always click the adds (it should make me money;p)
Oh and remember if you're making you're own cosplay, have fun and give yourself more time to work on it! I enjoyed walking around all day and had many people ask to take pictures with me. Sure some probably made fun of the guy in costume (in a woman costume as a man?) but I had fun and many people had fun seeing me! That's what it's about, having fun and enjoying doing something different. Also someday I'll make it to a comic-con... ;)
No comments:
Post a Comment